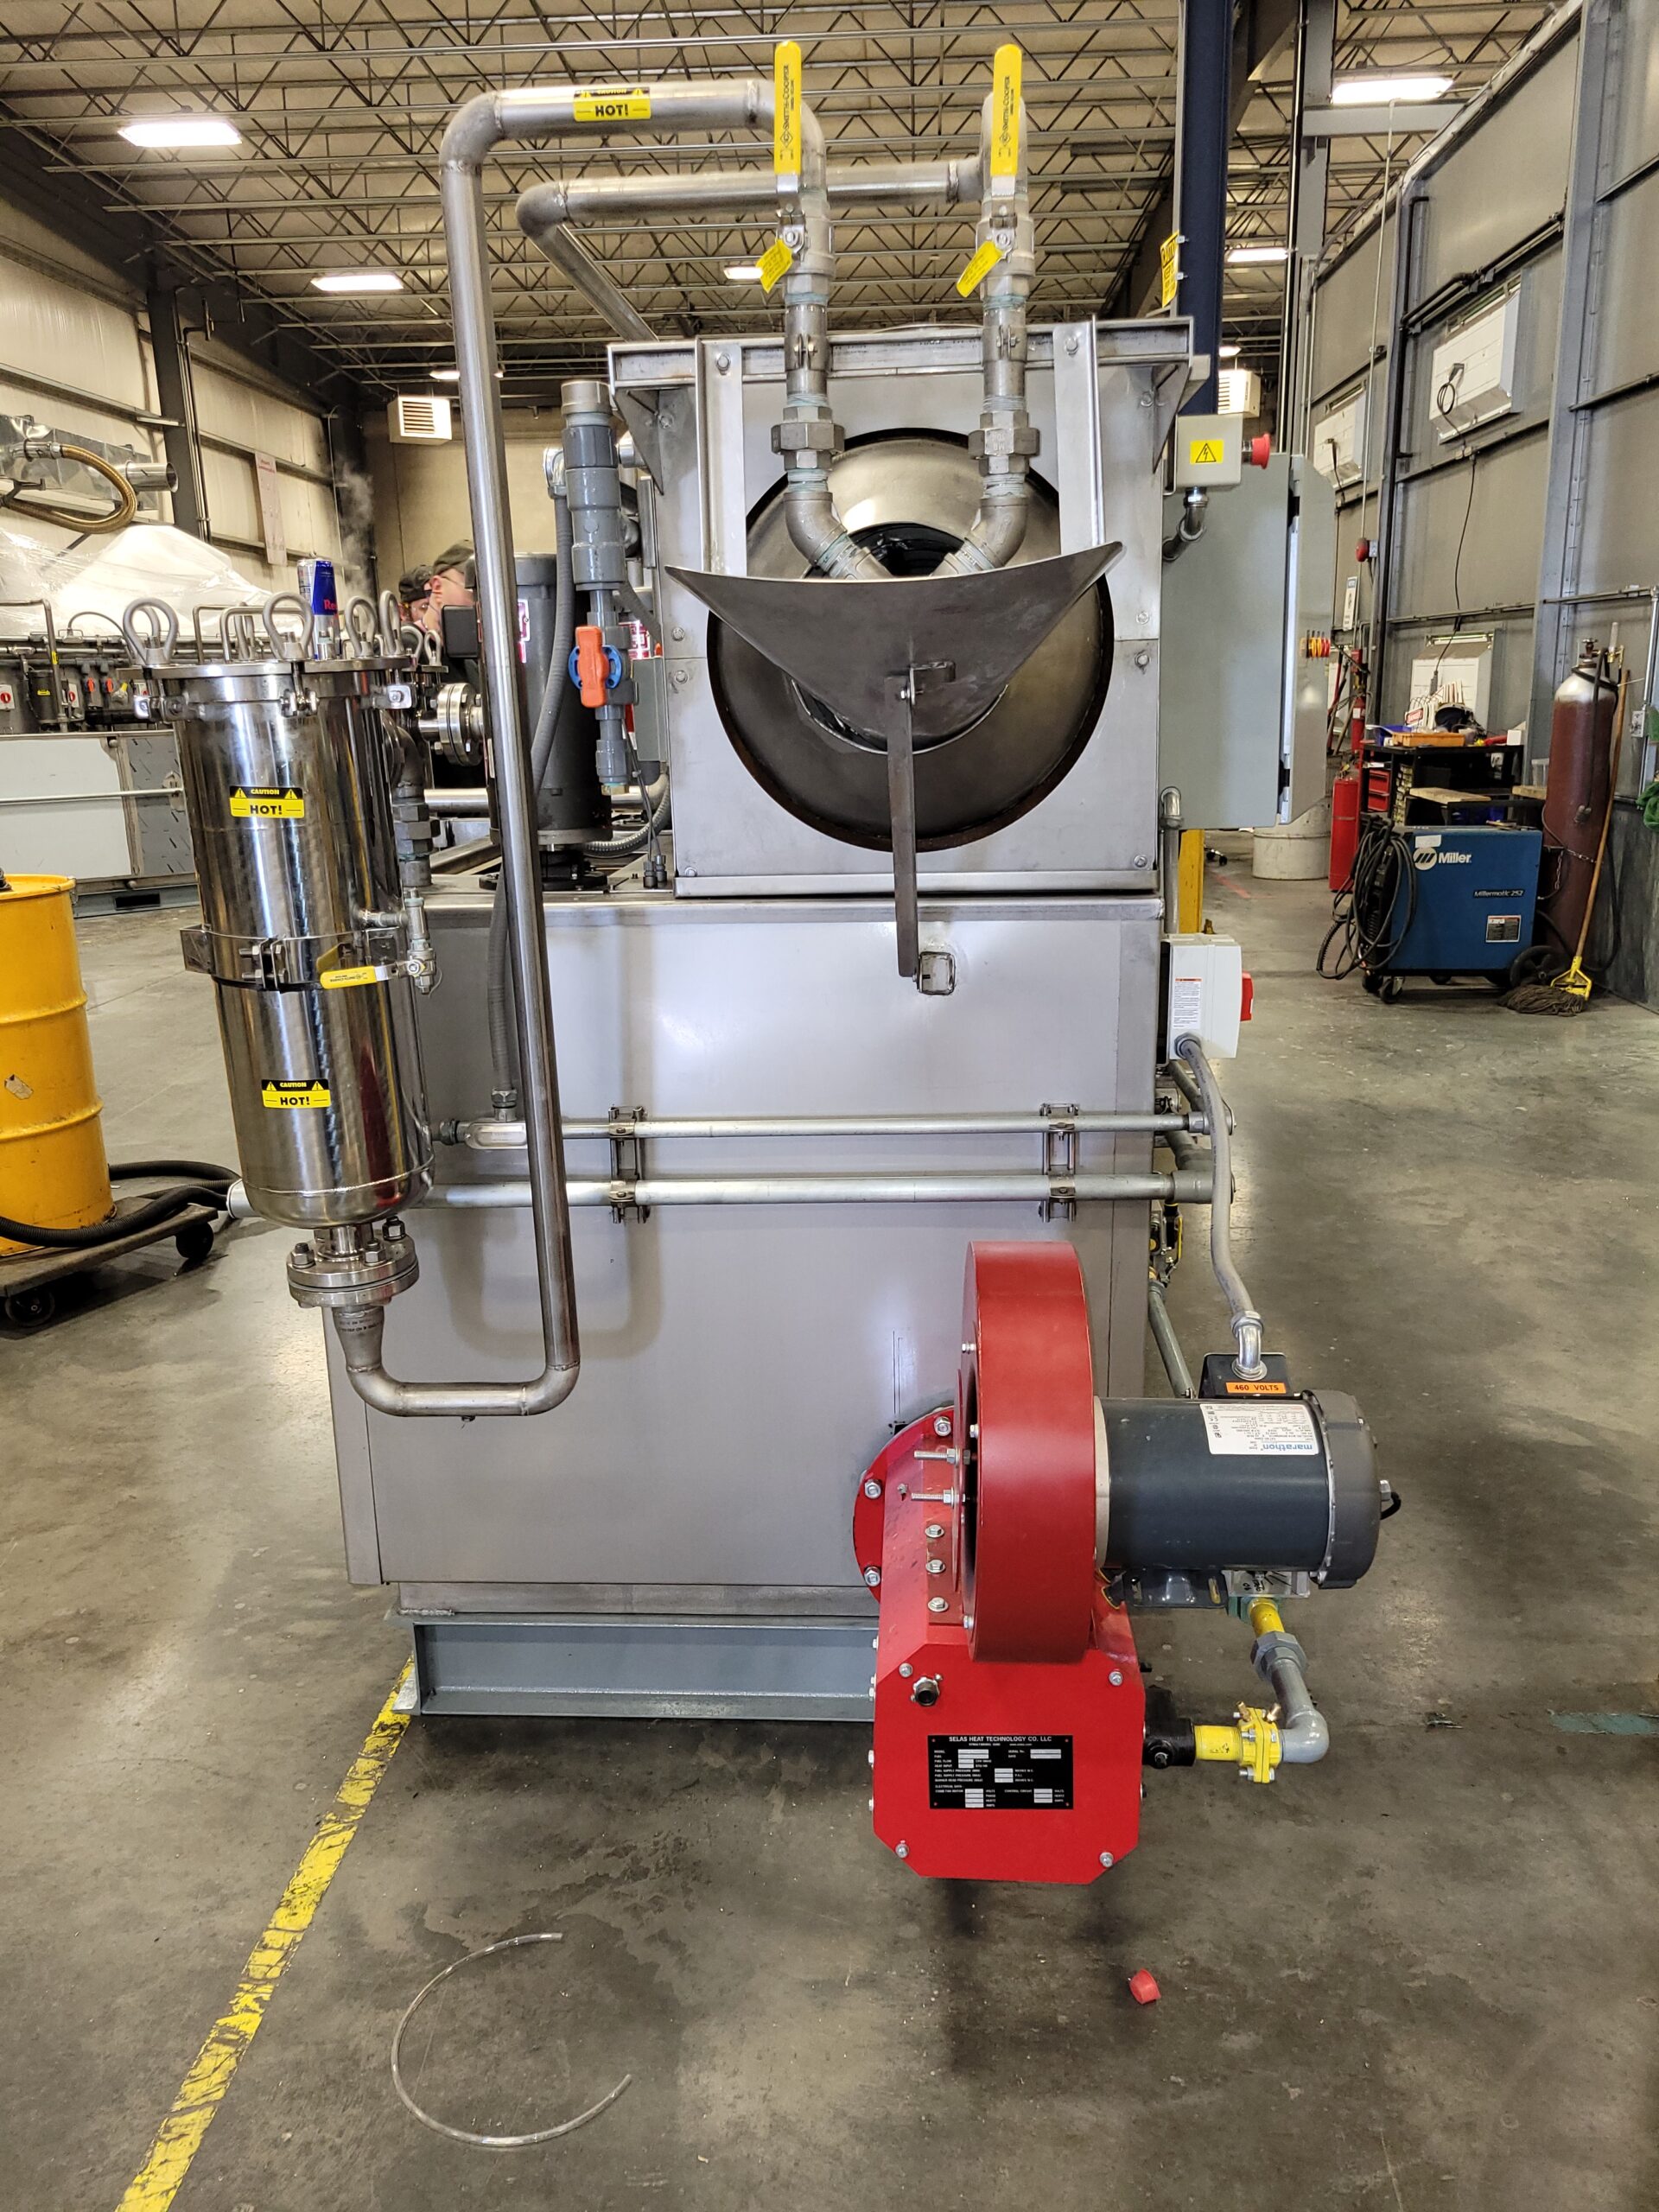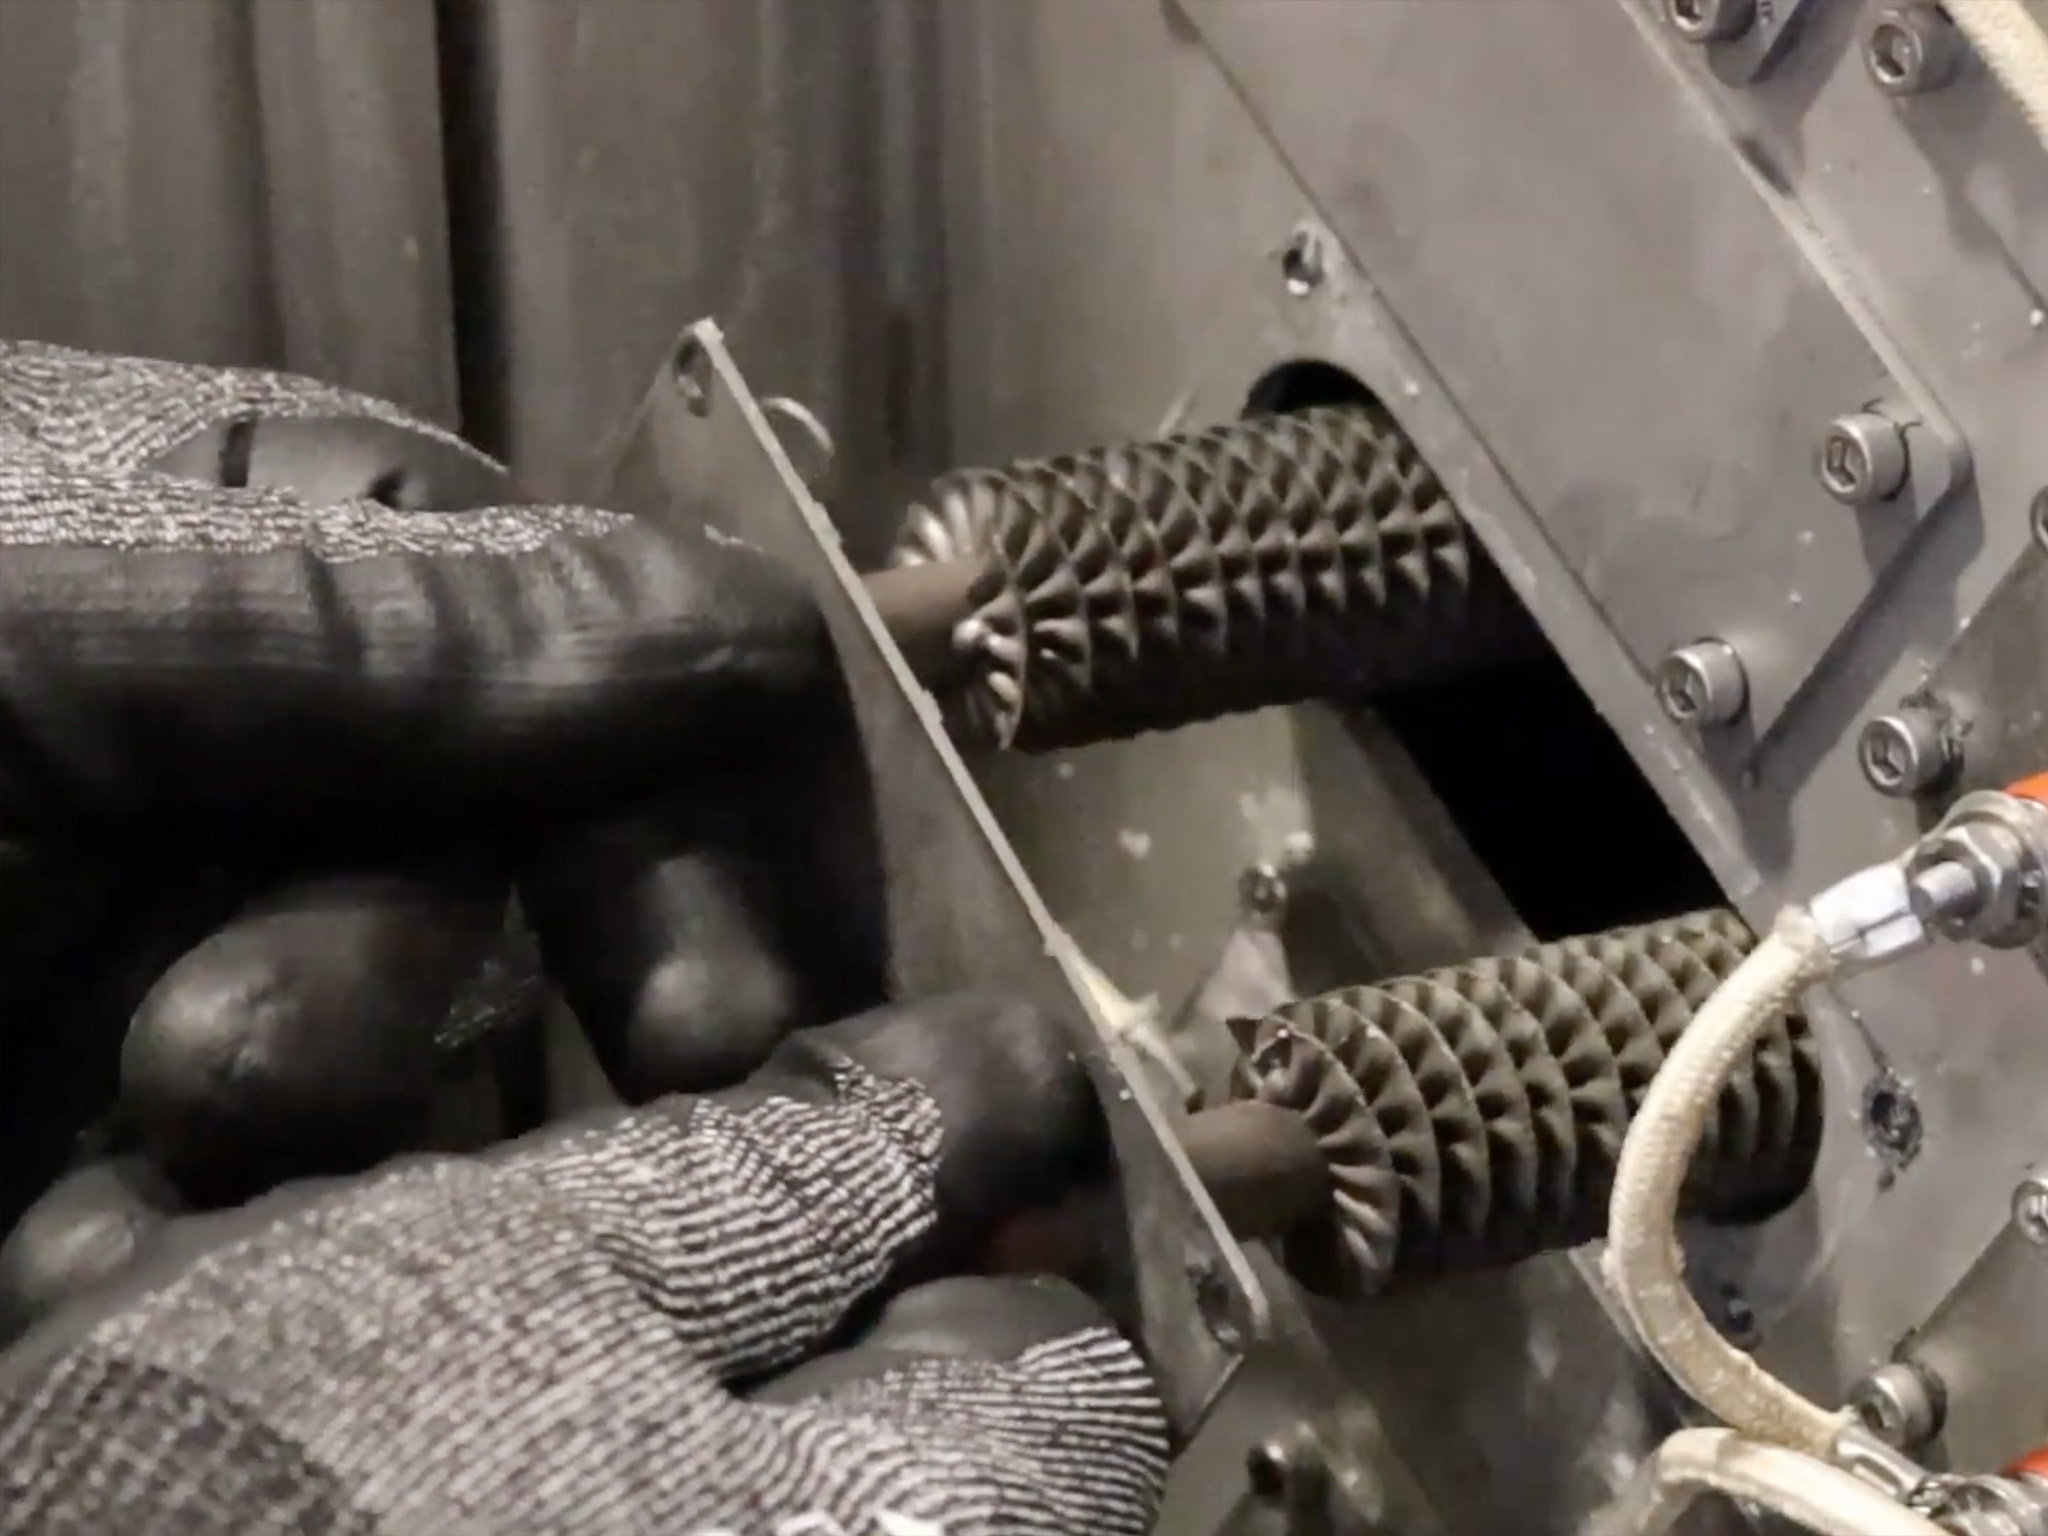
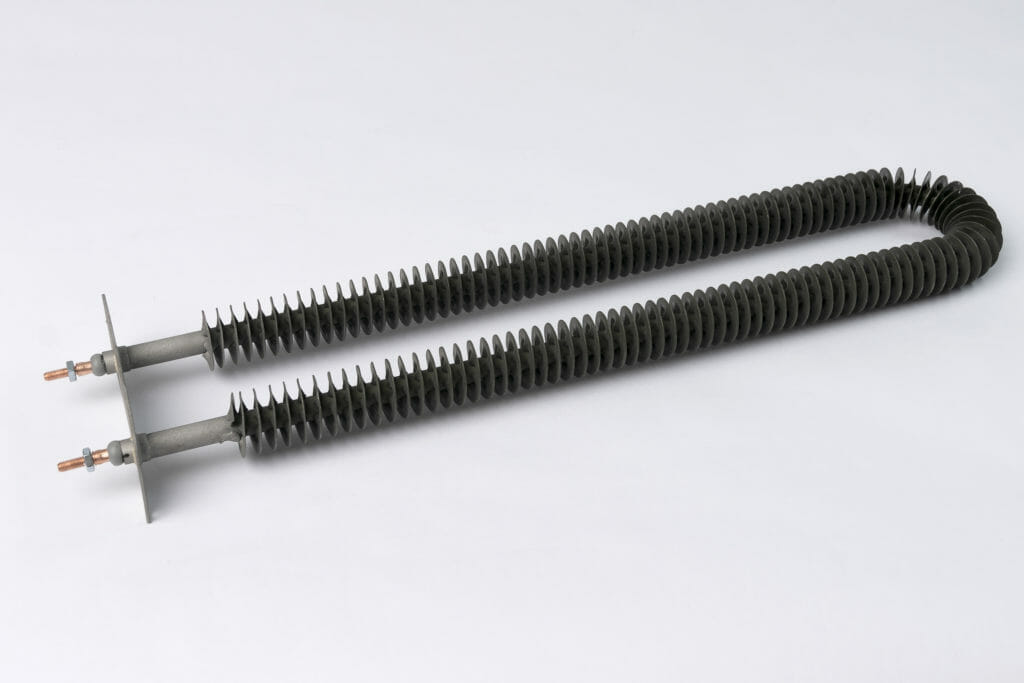
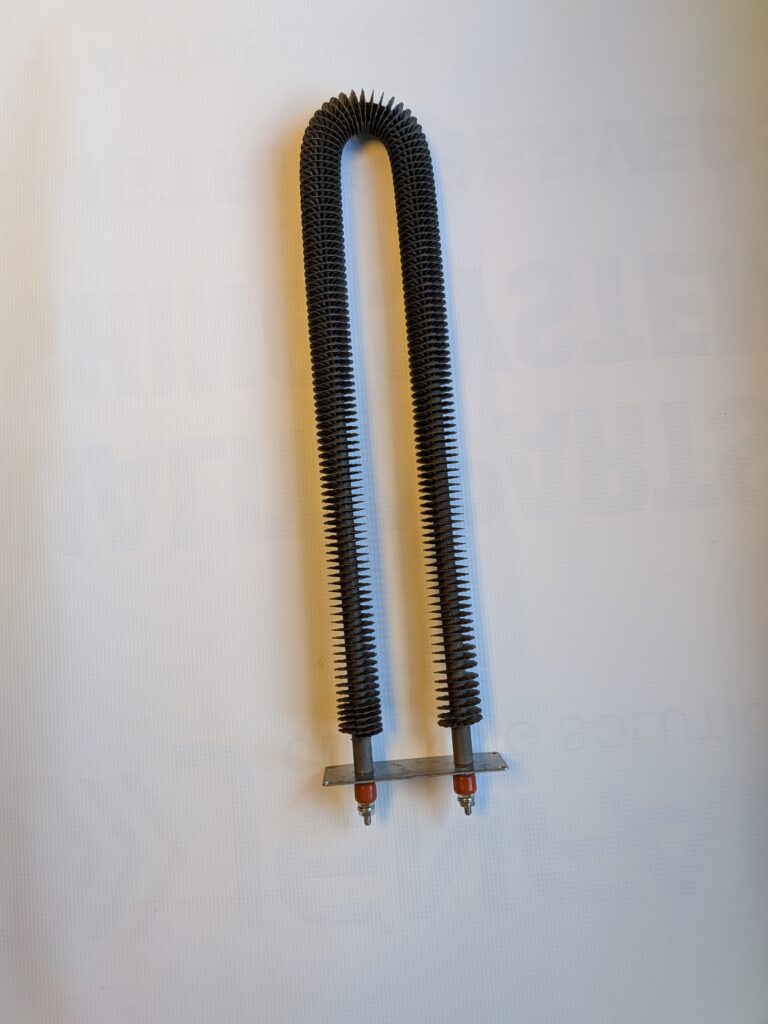
The finned heater is a core component of a Jenfab cleaning system, supplying the heat that keeps air blow-off and drying operations performing as designed. When a heater fails or loses output, the effects show up quickly: longer cycle times, inconsistent drying, and parts that leave the washer wetter than they should. Replacing the heater promptly, and doing it correctly, restores performance and protects the rest of the system.
In this step-by-step guide, Jenfab Cleaning Solutions walks through the complete procedure for replacing a finned heater on a Jenfab cleaning system, from safe isolation of the equipment through final testing. Following a consistent process helps maintenance teams minimize downtime and avoid the most common installation errors.
Table of Contents
Before Replacing a Finned Heater
Preparation is the most important part of any heater replacement. Before beginning work, shut the cleaning system down completely, disconnect it from its power source, and apply your facility’s lockout/tagout (LOTO) procedure so the equipment cannot be re-energized while you are working on it. Allow the heater and surrounding components to cool fully. Finned heaters retain heat long after they are switched off, and contact with hot surfaces is one of the most common causes of injury during this type of repair.
Because this procedure involves high-power electrical connections, heater replacement should be performed only by qualified maintenance personnel who follow the safety procedures established for the equipment and the facility. Confirm with a properly rated meter that power is absent at the heater terminals before touching any conductors.
Finally, verify that you have the correct replacement heater for your specific Jenfab cleaning system. Voltage, wattage, sheath material, and mounting configuration must all match the original specification. Installing a heater that is close but not correct can lead to poor performance, premature failure, or unsafe operating conditions.
Choosing the Correct Finned Heater Replacement
A replacement heater must be matched to the specific cleaning system it will serve. When ordering a replacement, have your cleaning system model number and the information from the existing heater’s nameplate on hand so that the correct component can be identified quickly and accurately.
If you are unsure which heater your equipment requires, contact Jenfab before beginning the replacement. Confirming the part first is far less costly than discovering a mismatch with the machine already opened up.
Replace a Finned Heater in 7 Steps
The video below shows the full replacement on a Jenfab cleaning system, including how the heater is accessed, removed, and reinstalled. Watching it once before you begin will help you anticipate each stage of the job.
Required Tools and Supplies
Before beginning the replacement, gather the necessary tools and supplies:
-
Ratchet with 7/16″ Socket
-
3/8″ Wrench
-
5/32″ Alan key
-
Utility knife
-
Scraper
-
Anti-seize compound
-
High-temperature silicone
-
PPE
-
Compatible finned heater replacement
The exact tools or sizes required may vary depending on the Jenfab cleaning system and heater configuration. Always verify the requirements for your specific equipment before beginning the repair.
1. Shut Down and Isolate the Cleaning System
Turn off the cleaning system and disconnect it from its electrical power source. Apply lockout/tagout devices in accordance with your facility’s procedures, and allow the heater and surrounding components to cool completely.
Before opening any access points, confirm that the equipment is in a zero-energy state. Test for the absence of voltage at the heater circuit rather than assuming that the disconnect has done its job.
2. Access the Finned Heater
Locate the finned heater and remove the panels, covers, or other components that block access to the heater and its electrical connections. Set fasteners aside in an organized way so that each returns to its original location during reassembly.
Before disconnecting anything, document the existing wiring. A clear photograph or a labeled sketch of every conductor and terminal takes only a minute and removes any guesswork when connecting the replacement.
3. Disconnect the Finned Heater
With the equipment confirmed de-energized, disconnect the electrical connections from the existing heater one at a time, referring to your documentation as you go.
While the terminals and surrounding wiring are exposed, inspect them closely. Look for discolored or brittle insulation, corroded or loose terminals, and signs of overheating. Damaged wiring is often the underlying cause of a heater failure, and it should be corrected before the new heater goes in. Otherwise the replacement may fail for the same reason.
4. Remove the Existing Finned Heater
Once all electrical connections are free, remove the hardware securing the heater to the cleaning system. Support the heater as the last fasteners are released so that it does not drop or strain the surrounding components.
Carefully withdraw the heater and examine the mounting area. Use a utility knife and scraper to remove old sealant or residue from the mounting surface, taking care not to scratch or gouge it. A clean, flat surface is essential for a secure fit and a proper seal when the new heater is installed.
5. Install the Replacement Finned Heater
Compare the replacement heater against the original before installing it to confirm that the size, mounting pattern, and terminal arrangement match. Then position it in the same location and orientation as the heater you removed.
Apply anti-seize compound to threaded fasteners where appropriate, and use high-temperature silicone where the installation calls for sealing. Secure the heater firmly and evenly so that it is fully supported.
Reconnect the electrical connections according to the equipment’s wiring configuration and the manufacturer’s specifications, using your earlier photographs or notes as a reference. Make sure every terminal is tight, and route the wiring away from sharp edges, moving parts, and hot surfaces where it could be damaged.
6. Reassemble and Inspect
Before restoring power, perform a complete inspection of the installation. Confirm that all electrical connections are secure, the heater is seated correctly, sealant has been applied where needed, and no tools, rags, or debris have been left inside the enclosure.
Reinstall every access panel and component that was removed during the replacement. Panels and covers are part of the machine’s safety design, and the system should never be operated with them missing.
7. Test the Cleaning System
Once the installation is complete, remove the lockout/tagout devices, restore power, and start the cleaning system using its normal startup procedure.
Watch the system through a full heating cycle. Verify that the new heater energizes, that the system reaches its expected operating temperature in a normal amount of time, and that there are no unusual sounds, odors, or visible air leaks around the heater area.
If the heater does not perform as expected, shut the equipment down, isolate it again, and investigate before continuing operation. Do not run the system with a suspected fault.
Keep Your Jenfab Cleaning System Running
Replacing a finned heater is a manageable maintenance task when the correct component is identified, the right tools are on hand, and proper safety procedures are followed at every stage. Careful isolation, thorough inspection, and a full test cycle are what separate a repair that lasts from one that has to be repeated.
With decades of experience designing and supporting industrial cleaning equipment, Jenfab Cleaning Solutions can help you identify the right replacement heater and other maintenance parts for your system, so your equipment returns to service with minimal downtime.
Need help finding the right replacement part? Contact Jenfab Cleaning Solutions.