
Aqueous cleaning chemistries are customized for specific applications. Your aqueous cleaner can look dirty or yellowed as it works its magic. Depending on your needs, you may have a spray, immersion or ultrasonic parts washer. Many custom parts washers perform a combination of these cleaning methods.
Most of the time, cleaning solutions naturally change color as they work. However, the wrong concentration, temperature or amount of agitation could affect the cleaning solution—or worse, the parts. When your cleaning factors aren’t aligned, your industrial parts washer won’t perform optimally, and it could damage your parts.
Quick Guide to Parts Cleaning Problems
Problems with your chemistry or cleaning results? You can troubleshoot your aqueous cleaning chemistry by watching for these signs and always following your manufacturer’s recommendations.
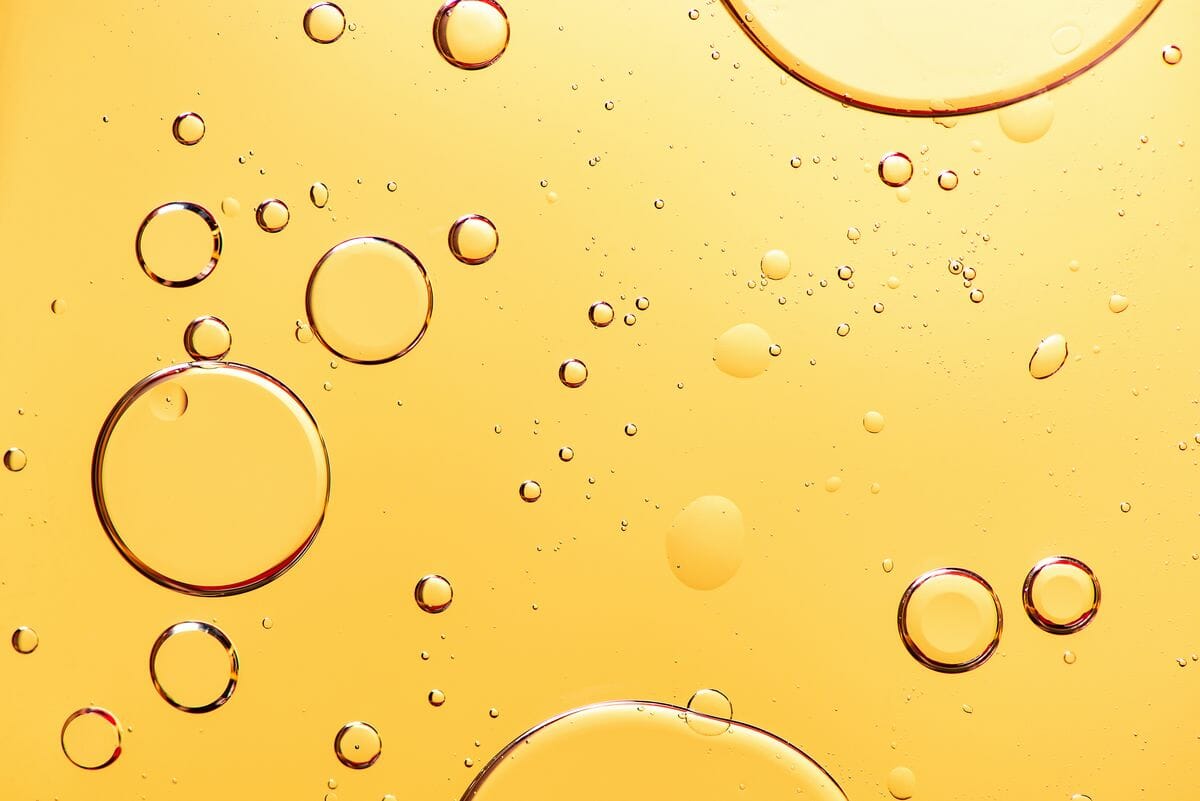
Yellow or Brown Aqueous Parts Cleaner
Inside a parts washer, the cleaning solution is stored in a tank. It flows from the tank through high-pressure spray nozzles. As particles dislodge from the parts, they float in the cleaning solution, which can change the solution’s appearance. All of Jenfab’s aqueous parts washers filter out these soils so the cleaning solution can be reused.
Just because your cleaning solution changes color doesn’t mean something is wrong. Most aqueous solutions turn gray or brown, but this doesn’t affect their cleaning ability. Here are a few things to check if the problem persists:
- Temperature. The cleaning solution’s temperature could be too high.
- Concentration. A high concentration of cleaning chemistry can cause color changes. Be sure to follow the manufacturer’s instructions.
- Oxidation. Ambient air can cause oxidation with certain formulas, making the bath appear darker over time.
Foaming Aqueous Cleaning Solution
A foaming washing machine may be a funny comedy TV bit, but foam inside an industrial parts washer is downright frustrating. What causes a foamy cleaning solution?
- Temperature. Foaming can be caused by running the machine at a lower temperature than recommended. Be sure to run the machine at the minimum temperature stated in your safety sheet from the manufacturer.
- Type of soils. Lubricants or buffing agents could be the culprit. Natural oils or fats covering the parts can cause foaming.
- Oversaturation. Defoaming agents within your cleaning chemistry don’t work well if they are greatly overpowered by soils. Too many soils in the solution may override defoaming agents for a frothy bath.
You can determine if there is too much soil in your cleaning solution by taking a sample. Soils will congregate at the bottom of the sample over time, while grease and oil will float to the surface. When cleaning seriously soiled parts, you can wipe off heavy grease and oils beforehand to minimize soil saturation in the cleaning solution.
Rainbow Pattern on Parts Post Cleaning
Rainbow patterns on parts typically relate to temperature, not good luck. If your metal parts develop rainbows, the aqueous cleaning solution or dryer temperature is too high. Keep in mind that raising the temperature by 17℉ can double reaction rates. Softer metals can be damaged by heat and aggressive chemical reactions.
Parts Are Darker After Cleaning
Have you noticed parts appear darker after being cleaned? You may be using the wrong type of chemistry or too much of it. Analyze these three factors:
- Temperature. Certain metal finishes can be altered by temperatures that are too high. Review your manufacturer’s directions to clean parts at the appropriate temperature.
- Concentration. Using too much cleaning chemistry at once can affect the parts. Be sure to only use the recommended amount based on the number of parts you are cleaning.
- Chemistry Type. Your current cleaning chemistry may not be the right fit for what you want to clean. A more aggressive chemistry can damage materials. Ask your manufacturer to test wash your parts to ensure the chemistry works as it should.
Starburst Pattern on Parts Post Cleaning
Are you seeing stars? That’s not a good thing. Starburst or spider web patterns on parts likely come from ultrasonics. An ultrasonic device emits sound waves that cause water molecules to implode upon impact. When the water molecules hit the parts, they knock off soils and particles.
If you’re seeing starburst patterns, your current ultrasonic frequency may be inappropriate for the parts you are trying to clean. Typically, lower frequencies knock off large soils, and higher frequencies target particles at the sub-microscopic level. Refer to your manufacturer’s directions on how to use your parts washer.
Parts Appear Pitted After Cleaning
Pitting is a type of corrosion that breaches a metal’s surface. Metals like aluminum and stainless steel can develop pits when their passive, oxide film is damaged. Pitting occurs if the damaged film does not immediately passivate again. Pits can be of any width or depth.
If your parts have small holes or cavities after cleaning, your cleaning chemistry is too aggressive for the part’s material. Check with your manufacturer to ensure you’re using the right concentration, or speak to an expert about changing your chemistry and cleaning process.
Make the Most Out of Your Aqueous Cleaning Chemistry
Aqueous parts washer solutions last longer than petroleum solvents. Water-based cleaning chemistries can be reused more often, cutting down on your company’s chemistry and waste disposal costs. Maintaining your aqueous cleaning solution is key to extending its life.
Here are a few ways to keep your aqueous parts cleaner fresh for longer:
- Use a filtering system. Polypropylene filter bags collect particles and debris to keep your tank clean. Catch larger particles and those as small as 50 microns so they don’t dirty up your cleaning solution.
- Get an oil skimmer. Oils left in your cleaning solution will leave residue on parts. If you’re cleaning oily or greasy parts, an oil skimmer will remove floating oils from the surface of the tank.
- Change solution based on performance. Don’t change your solution on a scheduled basis. If you do, you may be costing yourself money. Only replace the solution when you notice a decline in performance.
- Monitor the concentration. You may need to add chemicals as you use and reuse your cleaning chemistry. Additives help maintain the cleaning solution’s strength. You should review your manufacturer’s directions and test your cleaning solution before applying additives.
Your parts washer also plays an important role in cleaning performance. Maintain your parts washer by scooping out sludge build-up, checking the nozzles for wear, and removing deposits from heating elements.
Step up your parts cleaning. Jenfab Cleaning Solutions builds custom industrial parts washers. We test wash your parts for free upon request, so you can see how well our aqueous cleaning systems work.
Request a quote today. Tell us about your application, and our experts will design a parts washer tailored to your requirements.